Custom Elements
What are custom elements?
These are examples of custom elements created specifically for the LWVCC site. They enhance the usability of the site, but require a bit of extra care to make work properly.
The custom elements currently created for the site are:
You will find each element on this page with detailed instructions on how to use it.
The custom elements currently created for the site are:
- Custom Banner
- Custom Headings
- Sidebar sub-navigation menus
- Call out boxes
- Recent Post Widgets
You will find each element on this page with detailed instructions on how to use it.
How to use custom elements
The best way to take advantage of the these custom elements is to find the element you wish to use on this page and use Weebly's "copy to page" function to copy it to the page you want to use it on, and then edit the element on the new page.
Custom elements were created by Kelly Delahanty and maintained by Linda Bair. If you are having issues or have a question, please contact Linda Bair at [email protected] with the subject line "LWVCC website custom element."
Custom Banner
At the top of this page is a custom header banner element. This should be use instead of this theme's built in header/banner (which can be turned on on the page controls under "header type"
|
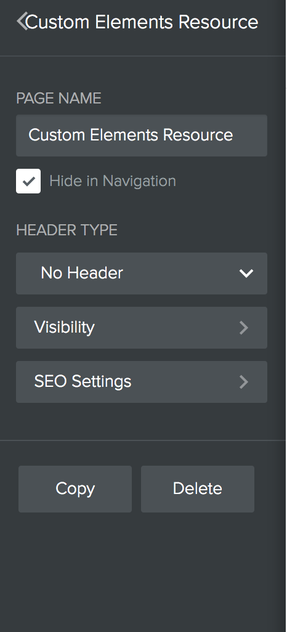
To replace the built-in header banner with this custom banner, click the page you want to add it to in the page sidebar, and then select "No Header" under header type. You can then copy the custom header from this page to the page you want the header banner on.
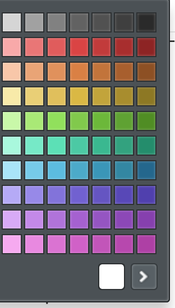
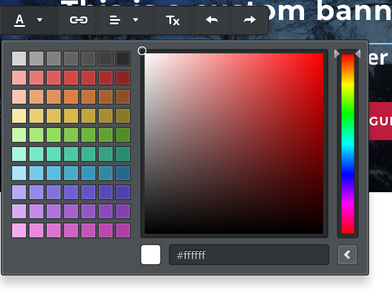
Once the banner is copied to the new page you may edit the text and image. The current banner does have some applied styles to it using weebly's text editor, when may disappear when you start to edit the text. To reapply them you can do the following:
Placing text on photos can pose a challenging issue for accessibility and readability. There needs to be enough color contrast between the lightest part of the image under the text and the text itself. You may need to to edit the image outside of weebly in order to make sure the color contrast is enough to meet legal accessibility standards.
To check if your color contrast is enough, upload the image to a color checker tool and select the lightest part of the image to find out the 6-digit color code. You can then put the color code into a color contrast checker tool and compare it against the color of your text (see above notes on changing the font color to figure out how to get the color code of your text. The contrast of the text color to background color must at least pass WCAG AA standards (AAA standards is ideal, but not legally required). If it does not pass try darkening your image and lightening your text or vice versa. |
Custom Headings
These are custom Headings that are used on pages. Each page should only have one H1 Heading and it should be used for the page title. The number of H2, H3, and H4 headings are not limited, and can be used for labeling different sub-sections of the page.
Headings are hierarchical - an H1 heading is the primary heading, H2 is a secondary heading and so on. The hierarchy of headings needs to be respected. You should not skip the H2 heading and use and H3 heading because you like the style of it more than H2 or any other reason. Doing so will make the site less accessible to blind users that use screen readers to access the site and will also throw off the search engine optimization of the site.
The headers will occasionally look different in the weebly editor than on the published site. This is not something you need to worry about, it will typically fix itself next time you come back to the editor and it will not impact the appearance of the header on the published site.
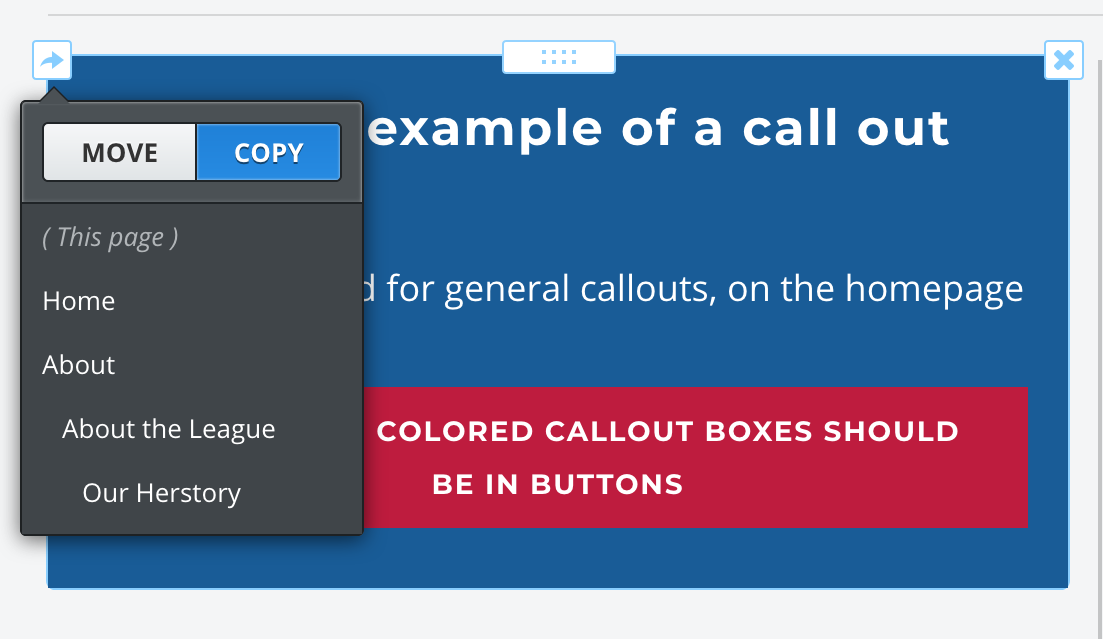
Use the examples below as models to be copied to be copied to other pages. To copy one of these headings, hover over the upper left-hand corner of the heading until you see a blue arrow. Click on the arrow and you'll see options. Choose "copy." Then click on the page from the listing to which you want to copy this heading. Navigate to the page you selected, and you'll see the heading you copied at the top of that page. Then drag the header to the location you want and edit the wording.
This is an example of a H1 Heading (AKA Page Title).
H1 Headings should be used for the title of the page ONLY, nothing else. There should only be one instance of a H1 Heading on a page.
This is an example of a H2 Heading.
H2 Headings are what you get when you use the weebly "Title" element from the sidebar. It should be used for headings/titles of the major sections or the page. There can be multiple H2 headings on a page. H2's can have their color changed using the normal weebly text editor.
This is an example of a H3 Heading
H3 headings should be used as subsections under H2 sections. You should never have an H3 without an H2 "above" it somewhere, but you can have multiple H3s per H2 section.
This is an example of a H4 Heading
H4 headings should be used as subsections under H3 sections. You should never have an H4 without an H3 "above" it somewhere, but you can have multiple H4s per H3 section.
General heading notes:
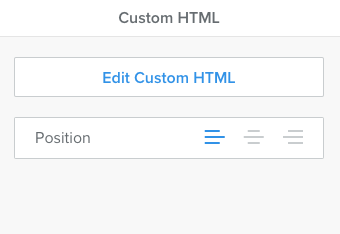
While H2 headings can be made with the Title weebly element, H1, H3, and H3 headings are custom elements made using the "Embed Code" element. To use, you can copy one of the above examples to the page you need and then edit it. To edit, click the element and then click the "Edit Custom Code" in the box that pops up.
The HTML editor will then open. Edit the text, making sure that it is surrounded on either end by <h#> and </h#> "tags", where the # is replaced by the number of the level you want. So, the above H1 example looks like this in the Custom HTML editor:
<h1>This is an example of a H1 Heading (AKA Page Title).</h1>
Sidebar Navigation
|
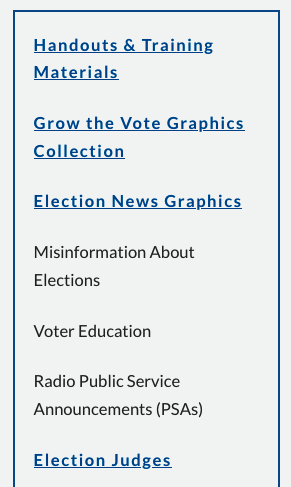
This is an example of how side bar navigation might appear on a page. It is a Content Color Box that has links in it. It will appear on the lefthand side of the page. (LB: we don't currently use these for *reasons*. We can create a side bar manually (example to the left) but it has to be maintained manually, links and all.) We could potentially automate this a bit more with some work. )
Sidebar Navigation is a very useful tool for increasing the usability of the site. It gives users a better idea of what content is available and makes it easier to get to. The idea is that when you are in one of the main sections of the site (like "About") the side bar shows you all the subpages of that section. The sidebar navigation should be the same across all pages in that section, but will change from section to section (for example, on each of the sub-pages of "About" section you will see the same sidebar, but if you went to the "Voting" section, the sidebar would list the subpages of "Voting." You must make sure the links of the pages are correct. Unlike the topbar navigation that updates automatically if you make changes to the pages of the site (change the name, location, delete or add new pages) side bar navigation will have to be updated manually. You can update it once and then copy the fixed sidebar onto the appropriate pages. |
Call Out Boxes
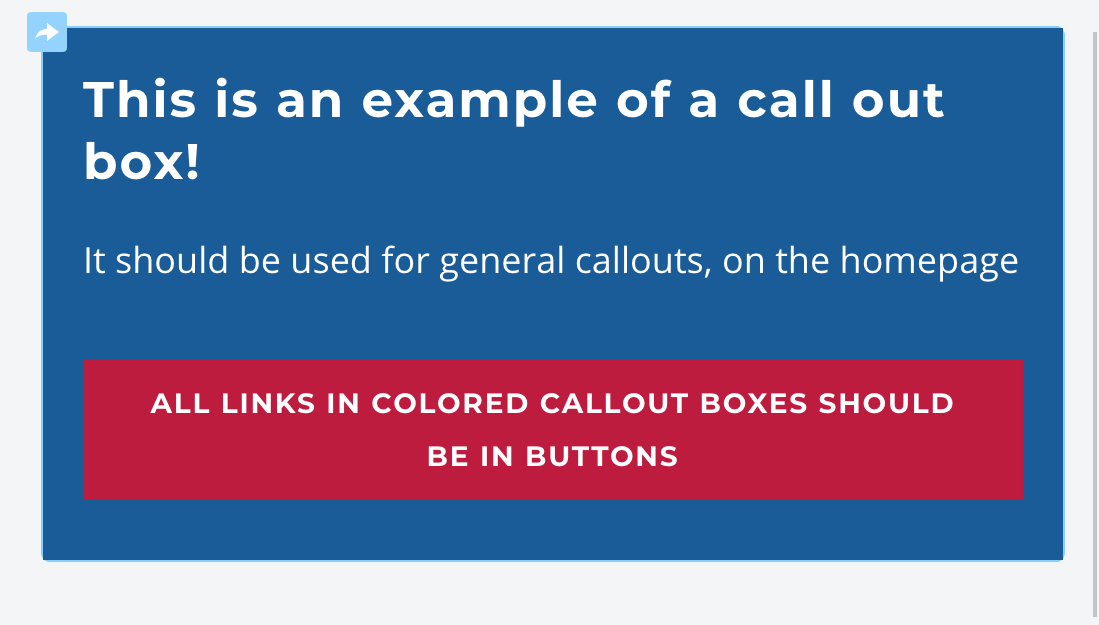
Call Out Boxes can be used to draw attention to information and give it more visual weight on the page.
Typically you want to limit the number of Call Out Boxes on a page so that it does not appear to be visually overwhelming. The exception is the homepage, where the Call Out Boxes are the main feature. The warning Call Out Boxes should only be used sparingly, when there's a time-sensitive and very important thing you want to draw attention to. Overuse of it will make it less impactful.
You can use the normal Title and Text elements in the Call Out Box, but you will need to change the color to pure white. Please see the "Custom Banner" section above to learn how to make sure the text color is pure white.
You cannot use links in Call Out Boxes, you must use buttons instead, otherwise there will not be enough color contrast to read the link text.
This is an example of a call out box!It should be used for general callouts, on the homepage
|
This is an example of warning or time-sensitive of a call out box!This should be used sparingly for really important items - like cancellations, sudden and time sensitive changes
|
|
|
|
Recent Posts Widget
|
The Recent Posts Widget is a tool that's used the showcase the 4 (# can be adjusted) most recent posts on the "News and Announcement" blog on the homepage. It shows the title of the post, the date, and a picture if there is one. Clicking on the title of the post in the Recent Posts widget will take you to the post in question on News & Announcements.
This widget is much more complicated to edit since it uses Javascript and pulls in live information dynamically. This means that when you are editing the homepage you will not actually see an accurate preview of what it will look like when published because it cannot pull the blog information. If you want to edit the Recent Posts Widget, please contact Linda Bair. |
Anchors
To place an anchor on a page that you can "hop" to from another part of the page (such as a sidebar or menu) insert Custom html near the destination. Use "edit Custom html" to insert something like:
<a name="anchor name"> </a>
Then refer to the anchor using the "anchor name" created. When entering the link, you’ll need to use the “Website URL” option and type in the full link to the page followed by #youranchorname. So if your website is www. lwvchampaigncounty.org and the page you’re working on is about.html, it would look like this: http://www.lwvchampaigncounty.org/about.html#youranchorname
